


One of the most important things for capturing high-quality video is lighting, regardless of whether you want to use a face-cam for streaming on twitch or start your youtube carrier. So, I got myself two RaLeno led video lights. They are very similar to Elgato Key Lights but for not even half the price, much cheaper. The only downside is that they come without a stand, and a suitable replacement (if you can find one) would bring up the overall cost to almost the same level as the Elgato Key Light.
Thus, we will design and build a cheap but high-quality Key Light stand. Our goal is to stay below $4 for each stand and have a good enough quality for me to use the lights daily.
As mentioned above, I want to use these stands regularly. The following features are a must:
To achieve our goals, we will combine an off-the-shelf 15x1mm aluminum pipe with as few 3d printed parts as possible. Doing so will make the assembly process much faster and easier while also making the finished product much sturdier.
Note: Consider your 3d printer as just another tool in your toolbox. Not every part should be 3d printed. Often it is much faster and results in a higher quality part if we combine e.g. simple metal parts with 3d printed ones. This way, we can easily manufacture parts with complex geometry while taking advantage of the superior mechanical properties of metal.
As this is a mechanical part, I will use PETG to 3d print it. I think ABS or ASA would also be a good choice. (Avoid using PLA.)
Unfortunately, large PETG parts tend to be very flexible, making it somewhat hard to design a thin and small baseplate that does not deflect much under load.
To alleviate this problem, we will use stiffeners on top of the base plate and inside the model to stiffen the part.
Adding stiffeners on top of the model is relatively easy and can be done directly inside the CAD program (I like to use CATIA).
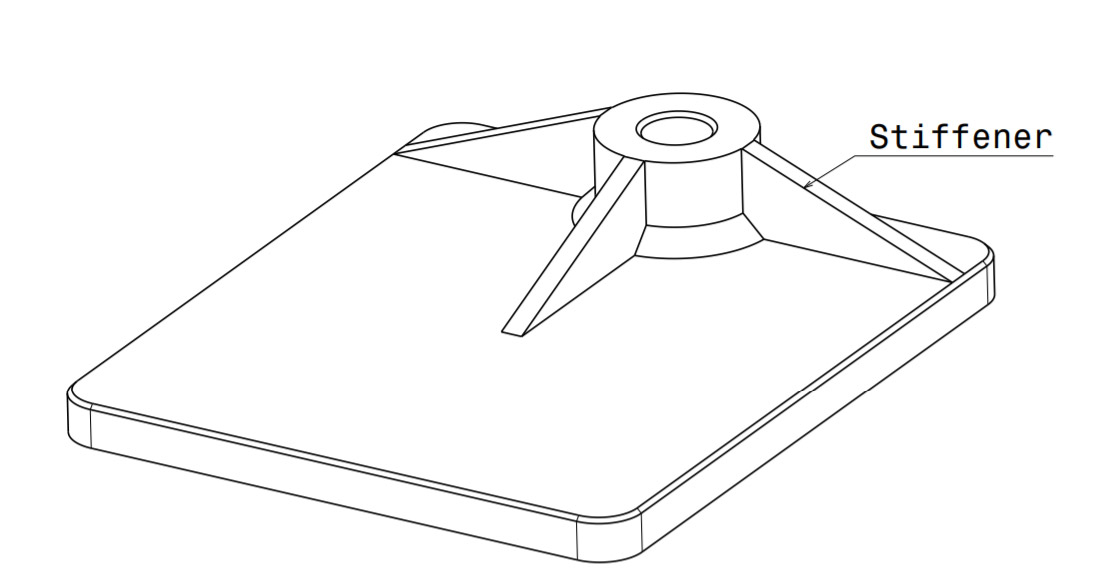
Adding stiffeners to the inside of the model can be achieved by splitting the part into multiple separate 3d models in your CAD software. Make sure each model is printed with perimeters, and all models are printed at once in the slicer. This way, the added perimeters/walls on the inside of the finished part provide additional stiffness.
Note: I have included a short section on setting up Simplify3D and Prusaslicer in the assembly video below.
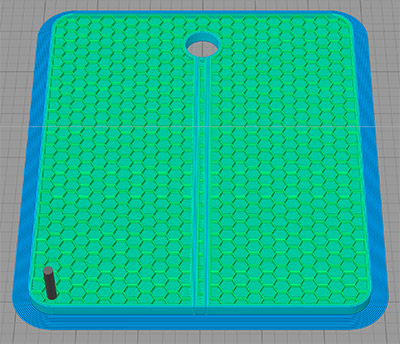
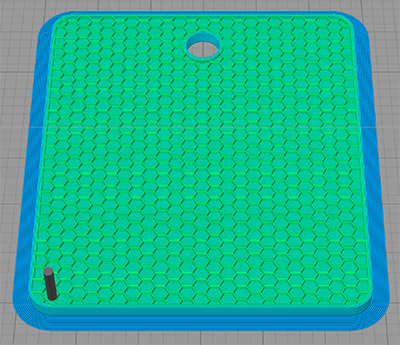
We will use a press-fit to connect the aluminum pipe to the 3d printed part.
The RaLeno light I want to use comes with a flash shoe adapter that supports tilt. You can see it in fig. 3.:
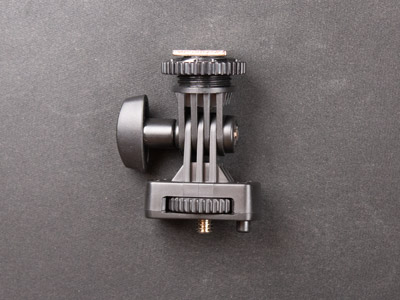
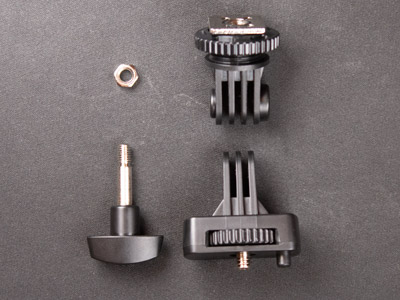
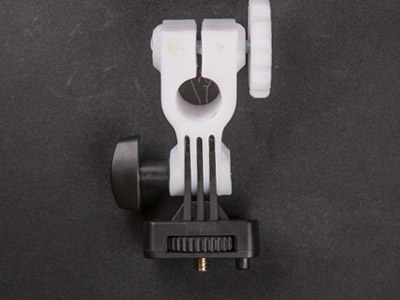
So, we will only have to replace the part that interfaces with the camera flash shoe with one that clamps to the aluminum tube we want to use. Designing such a part is straightforward and, as the pipe is round, using a clamp enables shifting the lamp up and down and rotating the light 360 degrees. You can see the finished part in fig. 4.
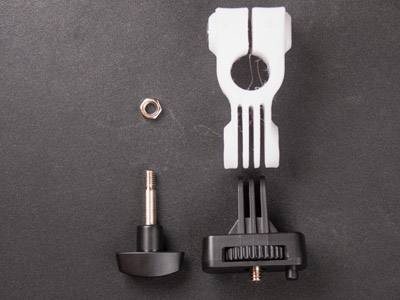
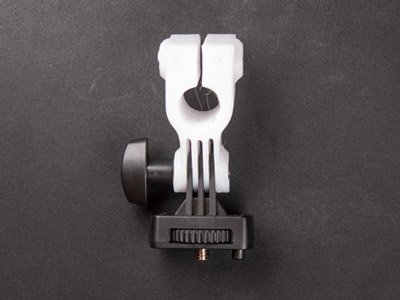
We will use a large thumbwheel to turn an m5 screw, which in turn clamps the 3d printed part to the aluminum tube.
Our previous studies of gears enable us to calculate perfectly sized and spaced indentations to make the thumbwheel grippier. (similar to knurling)
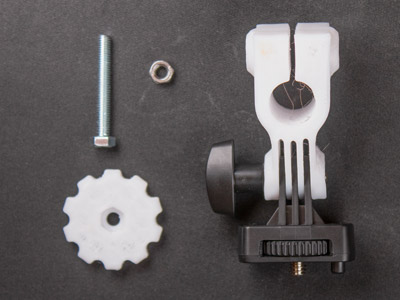
To build one Video Light Stand you will need:
| Component | Quantity | Where to buy |
|---|---|---|
| Video Light (optional) | × 1 | |
| 3d printed parts set | × 1 | Prusaprinters.org |
| 15mm (or 1/2") aluminum tube | × 1 | |
| M6x35 hex screw - DIN 933 | × 1 | |
| M6 nut - DIN 934 | × 1 | |
| #CommissionsEarned | ||
I am pretty pleased with these finished Video light stands. They turned out much cheaper, sturdier, and easier to assemble than expected.
Using multiple lights, I can finally do product photography or capture assembly videos without shadows. The fact that the led video lights I am using have a build-in battery is also a big plus (at first, I thought it was a useless feature).
The content published on this page (with exceptions) is published under the CC Attribution-NonCommercial 3.0 Unported License. You are free to share on commercial blogs/websites as long as you link to this page and do not sell material found on blog.hirnschall.net/* or products with said material.
As an Amazon Associate I earn from qualifying purchases.
