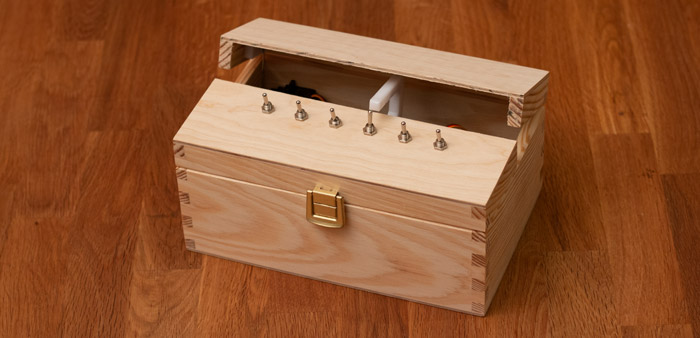
Build a multi-switch useless box with a single moving arm, custom PCB, and 3D-printed mounting — full Arduino code and STL files included.
blog.hirnschall.net


In recent years the ESP8266 has become one of my go-to choices for smart home/IoT devices or projects requiring WiFi. It is cheap (around $1.5 on Amazon)1, has WiFi, and can be programmed using the Arduino IDE, making it an easy replacement for Arduinos if we need WiFi connectivity.
While the ESP8266 can be used with the original AT firmware as a WiFi module for other microcontrollers like an Arduino, we will concentrate on writing our own replacement firmware in this post. Our firmware lets us replace the Arduino with an ESP module, simplifying programming and assembly and reducing cost.
This post shows how to setup the Arduino IDE to work with the ESP8266 module and how we can use a spare Arduino as a USB to serial converter for programming the ESP module. It is part of a complete ESP8266 reference you can find here.
An esp8266 is a cheap and easy way to add WiFi connectivity to your Arduino projects. However, an esp8266 can replace the Arduino entirely for smaller projects, making the project way cheaper, much smaller, and easier to program. As the esp module lacks a serial to USB converter, we'll use an Arduino to program it.
As mentioned above, we'll use the arduino IDE to program the esp8266. (Download Arduino IDE here) We first have to add the esp board. To do so, navigate to File>Preferences and add:
http://arduino.esp8266.com/stable/package_esp8266com_index.json
Next, we need to install the esp board using the boards manager (Tools>Board:"">Boards Manager...). Search for esp8266 and press install.

Ok, after selecting "generic esp8266 module" as seen in the figure below we are all set and can continue with wiring everything up!

We can enter programming mode by pulling the esp's gpio 0 pin low on boot. That is, disconnect the esp from GND, connect the esp's gpio 0 to GND, and reconnect the esp module to GND. Suppose you have connected the Arduino and opened a serial monitor on the connected port beforehand. In that case, you should see a message from the esp indicating that it has entered programming mode. It is also crucial that we connect the Arduino's reset pin to ground.
Fig. 8.4 below shows a pushbutton labeled "FLASH" to connect gpio 0 to ground during the boot process. You do not have to use a button to do so. I usually use a spare jumper wire to make the connection and disconnect it from GND if I want to boot the esp normally.

This sketch uses an esp8266 esp12 board. If you want to program an esp module:
We can now hit upload like we would programming an Arduino board. Once finished, disconnect the gpio 0 pin and restart the esp module.
This post is part of a complete ESP8266 reference/guide. You can find more information on how to use your ESP8266 module effectively at blog.hirnschall.net/esp8266/.
Below are links1 to the ESP modules and development boards I personally tend to use. If you are unsure about which one to choose, check out this comparison post!
| ESP-12F | NodeMCU ESP8266 | ESP32-WROOM-32 | ESP32-S3 |
|---|---|---|---|
| amazon.com amazon.de |
amazon.com amazon.de |
amazon.com amazon.de |
amazon.com amazon.de |
| #CommissionsEarned | |||
Build a multi-switch useless box with a single moving arm, custom PCB, and 3D-printed mounting — full Arduino code and STL files included.

Build motorized chopsticks with an Arduino servo for under $10 — complete parts list, wiring, and assembly guide.

This project (with exceptions) is published under the CC Attribution-ShareAlike 4.0 International License.
1: As an Amazon Associate I earn from qualifying purchases.